
How to add future sites to your ChargePlanner application
If you have knowledge about planned sites that you want to take into account for simulations, you can add them to your ChargePlanner application.
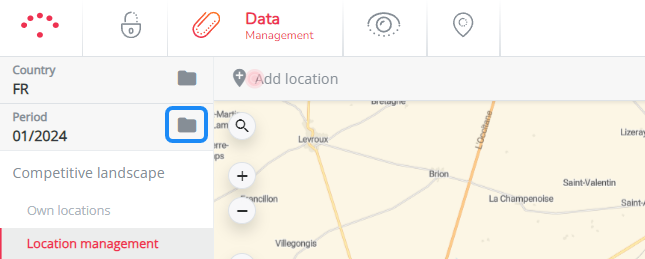
First go to data management and select the latest baseline period. Go to competitive landscape > Location management.
If you want to add only one location, you can read the explanation in section 1. If you want to do a bulk upload, you can move ahead to section 2.
1. Add one location
There are 2 ways to add a new planned site
- First zoom in on the exact area on the map and drag & drop the Add location marker on that exact area where you want to open the new location.
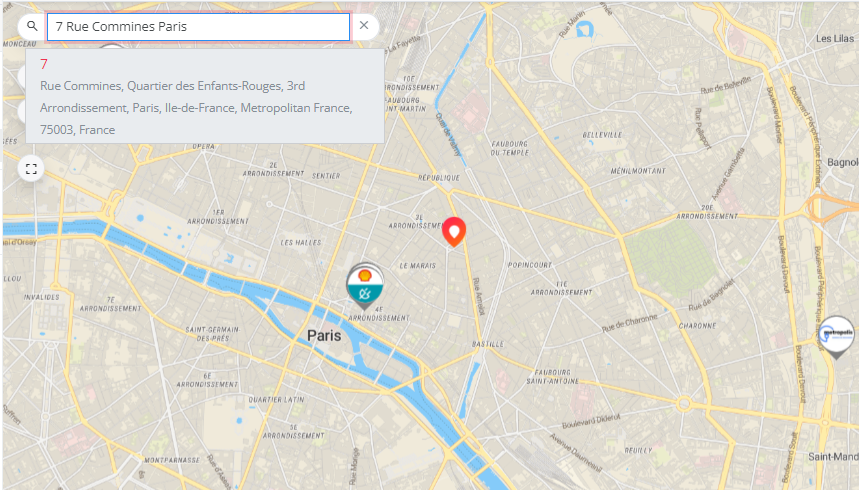
- Enter an address or place name in the search box on the map, select the right option that appears and click on the orange marker that appears on the map after this.
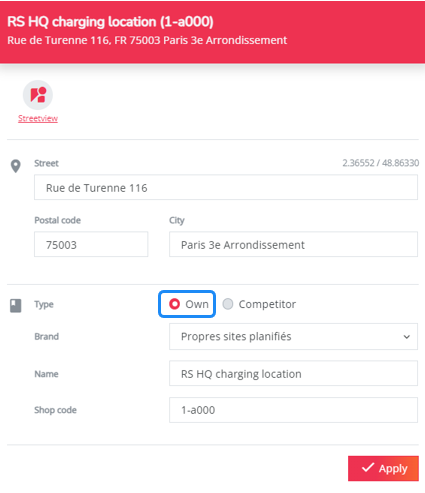
Next, a pop-up window will appear.
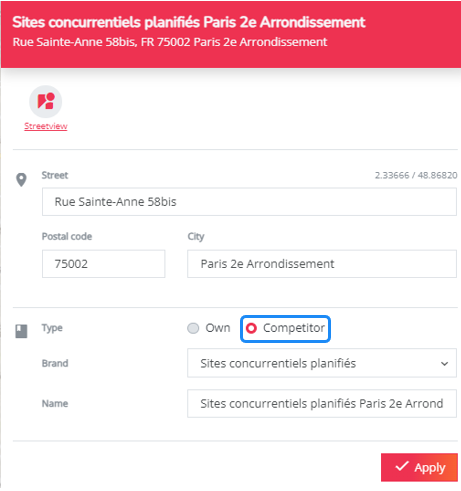
If you want to add an own future site, select type 'Own' and brand 'Own planned sites'. Choose a name and a shop code (identifier you use internally). If you want to add a future competitor, select type 'Competitor' and brand 'Planned competitor site' & choose a name.
In the following pop-up window, the location characteristics will need to be set to the correct values.
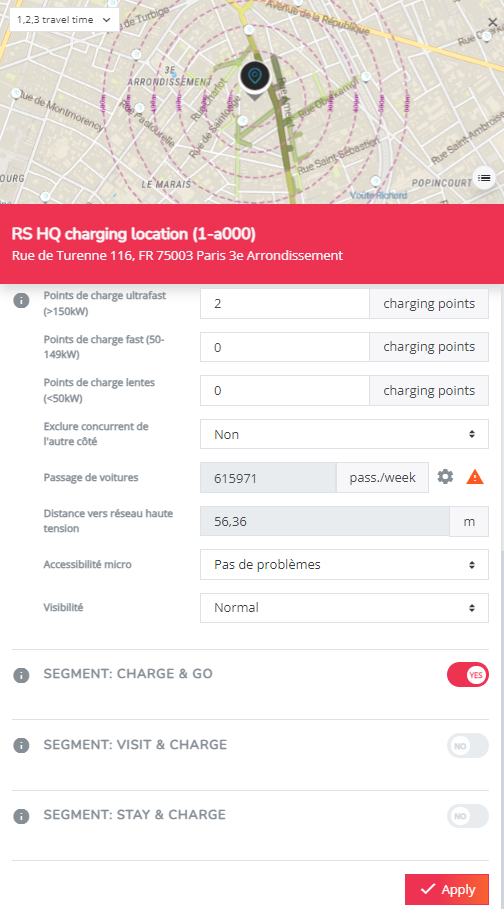
Once everything is entered correctly, you can press Apply at the bottom of the pop-up window to save the newly added location. It will then appear permanently on the Location Management map and all other maps on the platform.
2. Do a bulk update of locations
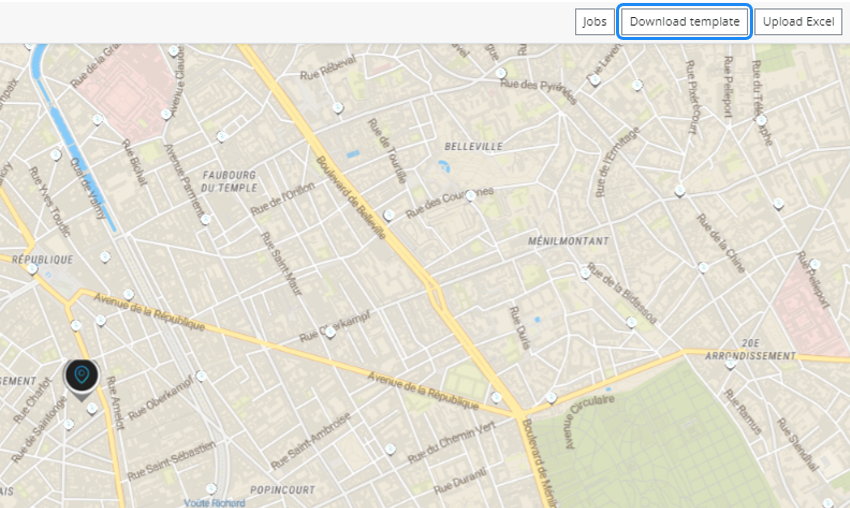
To add multiple planned sites, you can download the template at the upper right corner of your screen
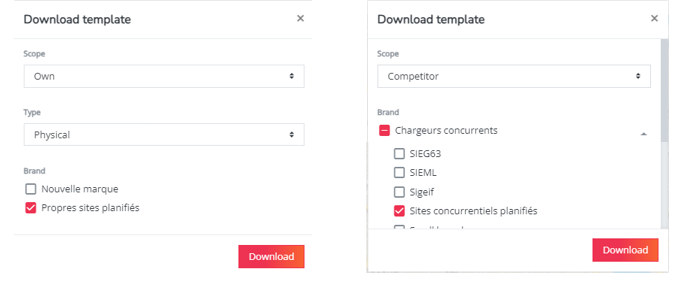
Depending on the type of future site you want to add, select scope 'Own ' or 'Competitor' and select the corresponding planned site brands. Click 'download'.
Now (optionally) remove all existing rows, add a new row for each new location (but leave the ID field blank), and upload. Note that
- Shop code, name, and address-city must be unique.
- State (Open vs Closed) is a general as well as a segment-specific characteristic. Put this to 'Open' in the 'General attributes' section. For the 'Charge & go', 'Visit & charge' and 'Stay & charge' columns, take the folowing rules into account:
- if you have > 0 fast or ultrafast charging points -> fill out 'Open' in the cell 'State' for segment Charge & go else fill out 'Closed'
- if you have > 0 fast or ultrafast charging points -> fill out 'Open' in the cell 'State' for segment Visit & charge else fill out 'Closed'
- if you have > 0 slow charging points -> fill out 'Open' in the cell 'State' for segment Stay & charge else fill out 'Closed'
- Shop code, brand, name, and state are mandatory fields.
- Either address fields or coordinates must be provided
- When you leave a cell for a characteristic in the Excel file blank, the default value will be assigned/calculated.
An example of an Excel file that could be found below:

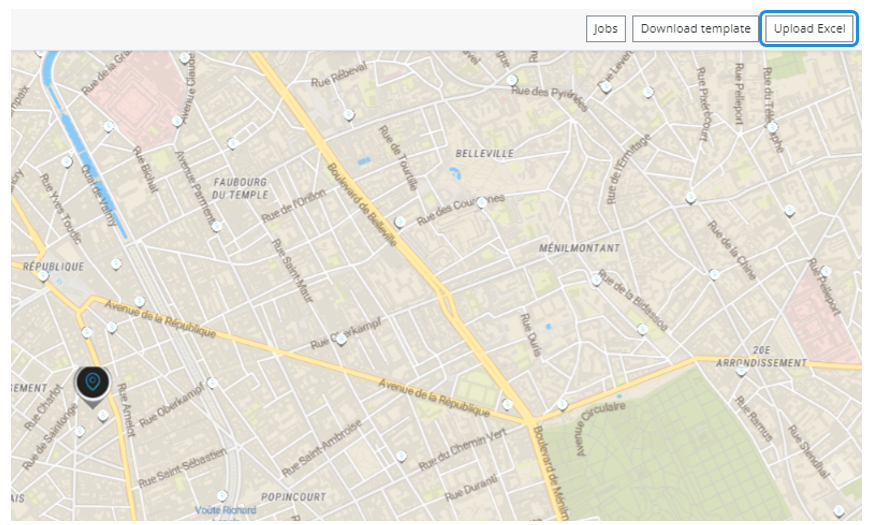
Now you can upload your Excel: click the corresponding button & select your file.
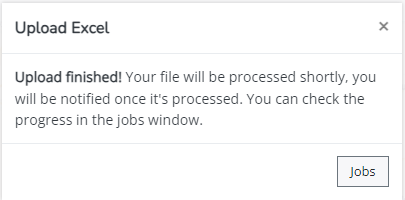
You will see this message. You can then click 'jobs'.
A jobs pop-up will open. If you see a green check, the upload was successful. If you see a red question mark, the job failed. This means your file does not correspond to the required structure. Click on the cloud icon to download the logs and learn more about what is wrong in the upload.
In each case you will receive an email, confirming wether the upload was successful or not.
