
Create a Project
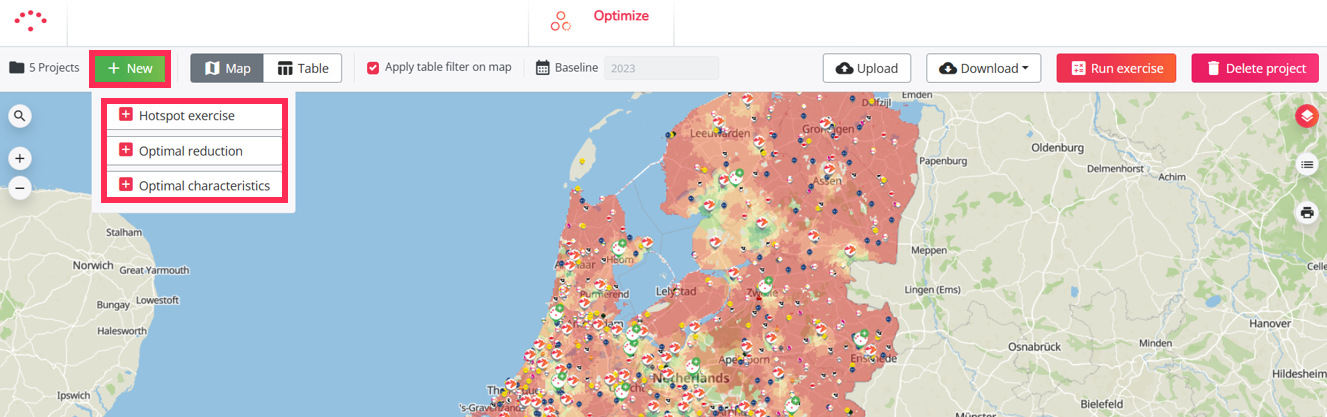
To start a new project, click the New button.
Next, select the type of project you want to create. You can choose from three options:
- Hotspots exercise
- Optimal reduction
- Optimal characteristics
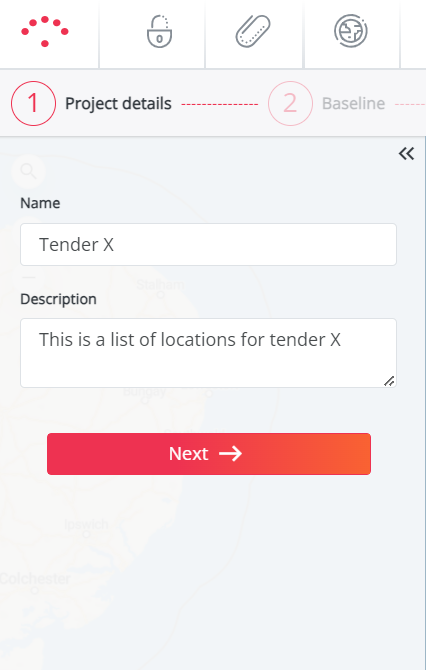
Enter a project name and, optionally, add a description.
Click Next to continue.
You are now ready to move on to the next step: Select a Period
Last updated: 6/29/26, 1:59 PM